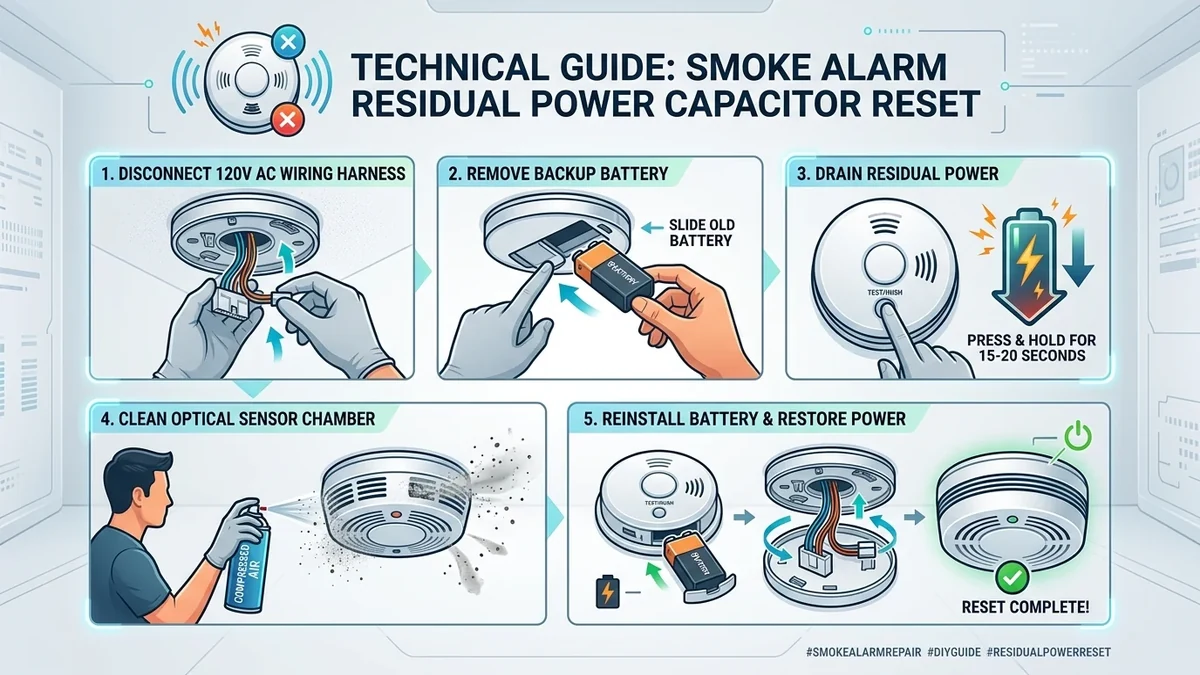
Inserting a brand-new battery does not always clear the low-voltage error state stored in an alarm's microprocessor. Modern alarms use capacitors that store charge, requiring a manual power cycle.
Why Smoke Alarms Chirp After a Battery Swap
| Underlying Issue | Mechanism | Fix Procedure |
|---|---|---|
| Residual Capacitor Charge | Microprocessor maintains low-voltage trouble code in memory | Full manufacturer-specified capacitor drain reset (see below) |
| Weak Replacement Battery | "New" battery was stored for years and has low resting voltage (<8.4V) | Test cell with multimeter or install fresh unexpired brand |
| Terminal Contact Oxidation | Surface resistance prevents full voltage delivery to processor | Gently clean terminal contacts with a dry pencil eraser |
| Chamber Dust Disturbance | Moving the unit dislodges settled dust into the optical sensing beam | Vacuum perimeter vents with soft brush attachment |
| End-of-Life Expiration | The unit has exceeded its 10-year operational lifespan | Replace the entire smoke alarm device |
Step-by-Step Capacitor Reset Procedure
- Turn off the circuit breaker powering the smoke alarms at the main electrical panel.
- Twist the alarm counter-clockwise to detach it from the ceiling mounting ring.
- Disconnect the 3-pin AC electrical wiring harness.
- Remove the new battery from the unit.
- Press and hold the Test/Hush button down firmly for 15 to 20 seconds. You may hear a brief chirp as the capacitors fully discharge.
- Reinstall the battery, reconnect the AC plug, re-mount the alarm, and restore breaker power.
- Press the Test button once to confirm normal system readiness.