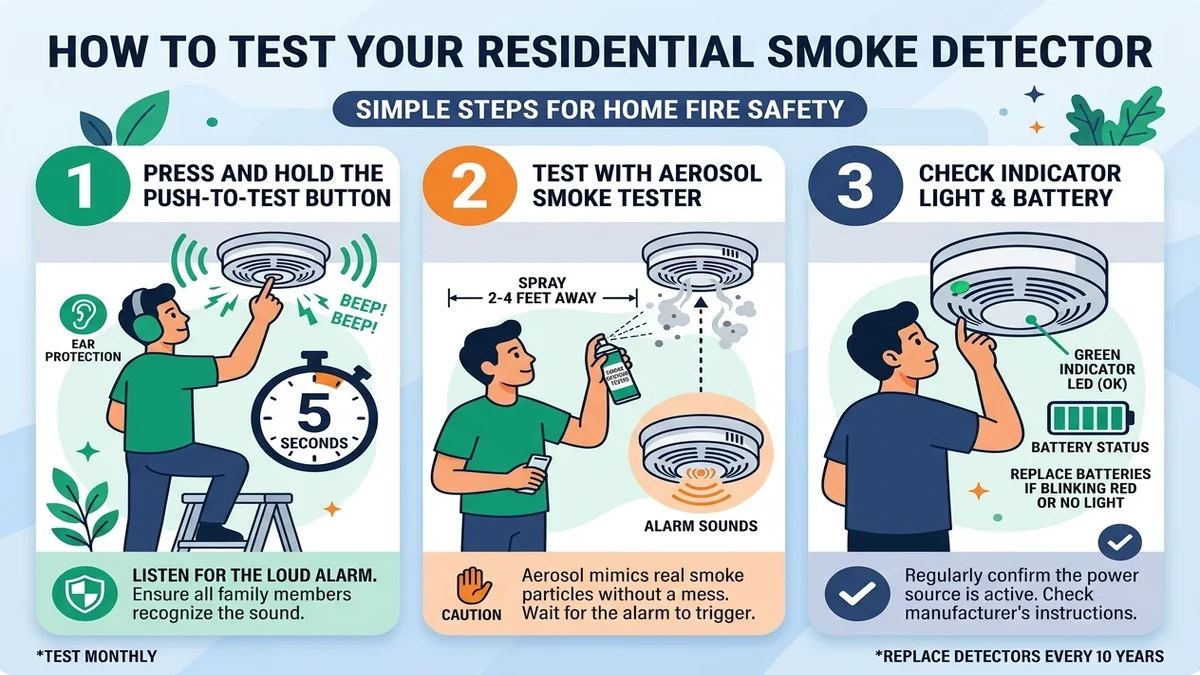
Regular testing and preventive maintenance ensure smoke alarms operate reliably during a fire. A complete maintenance regimen combines electronic push-button checks with physical sensor verification.
Recommended Smoke Alarm Maintenance Schedule
| Frequency | Maintenance Task | Procedure | Verification Criteria |
|---|---|---|---|
| Monthly | Electronic Push-Button Test | Press and hold Test button for 3 to 5 seconds | Loud 85 dB audible siren sounds clearly; LED indicators flash |
| Semi-Annually | Chamber Dust & Vent Cleaning | Vacuum exterior grilles using a soft brush hose | All visible dust, lint, and cobwebs cleared from perimeter vents |
| Annually | Functional Aerosol Smoke Test | Dispense 1-2 second burst of UL-listed simulated smoke | Alarm detects synthetic particles and activates within 15 seconds |
| Annually | Replaceable Battery Replacement | Install fresh 9V or AA alkaline batteries (if non-sealed) | New unexpired cells installed; battery compartment latched |
| Every 10 Years | Complete Unit Replacement | Remove entire alarm and install brand-new certified unit | Casing manufacture date verified; new unit tested on ceiling |
Diagnostic Checks Before Replacing a Non-Sounding Alarm
If a smoke alarm fails to sound during a push-button test, perform these diagnostic checks before discarding the unit:
- Verify Battery Orientation: Ensure positive and negative terminals firmly connect with the alarm contacts.
- Check for Battery Terminal Oxidation: Inspect copper clips for white or green corrosion; wipe clean with a dry pencil eraser.
- Check AC Power Plug: On hardwired alarms, verify the quick-connect wiring harness is clicked tightly into the rear socket.
- Test Circuit Breaker: Verify the dedicated lighting or smoke alarm breaker in your main panel has not tripped.
- Perform a Residual Power Reset: Remove power, pull the battery, and hold the button down for 15 seconds. Reinsert a fresh battery and re-test.
Testing & Inspection Guides
- How to Test a Smoke Alarm - Step-by-step homeowner testing guide.
- How Often Should You Test? - Inspection frequencies and schedules.
- Smoke Detector Testers (Aerosol & Poles) - Equipment for true functional checks.
- Testing Interconnected Alarms - Whole-home network test method.
- Printable Inspection Log - Free maintenance tracking record.