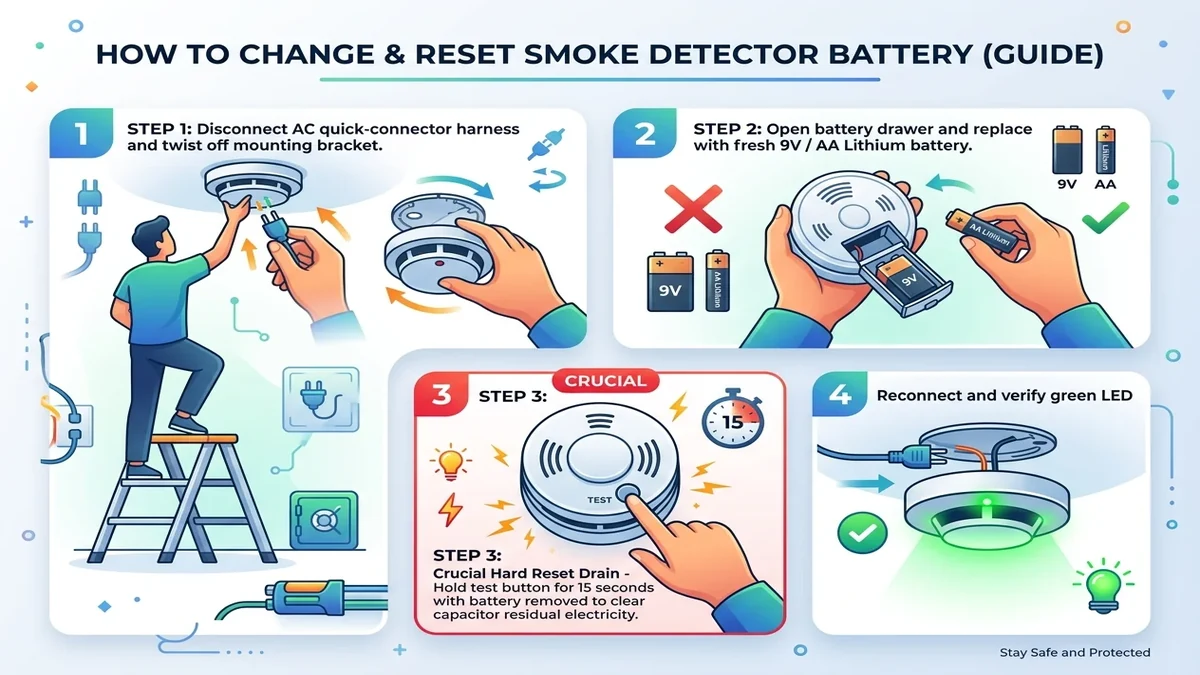
Replacing smoke alarm batteries annually ensures reliable early warning during a fire. Follow this systematic procedure to complete battery swaps safely.
Step-by-Step Replacement Instructions
-
Access the Battery Compartment:
- Front-Load Models: Press the release latch on the alarm face to swing open the battery drawer.
- Rear-Load Models: Grasp the alarm body and rotate it counter-clockwise approximately 1/2 inch to disengage the ceiling mounting bracket.
- Remove the Old Battery: Unclip the 9V terminal snap or pull the red ribbon in AA battery trays to eject the depleted cells.
- Inspect the Terminals: Look for dust or corrosion. Wipe the metal contacts clean with a dry cloth.
- Insert the Fresh Battery: Align the positive (+) and negative (-) terminals carefully. Ensure the battery sits completely flat in the compartment.
- Close or Re-Mount the Alarm: Close the battery drawer until it clicks. On rear-load units, align the mounting slots and twist clockwise until the alarm locks firmly onto the ceiling bracket.
- Test the Alarm: Press and hold the Test button for 3 to 5 seconds until the loud horn sounds.